

Written by Andrew Marshall
UK parent of three sharing practical advice to help families enjoy camping, walking, garden play, and simple outdoor adventures across the UK.
Creator of Simple Days Outside.
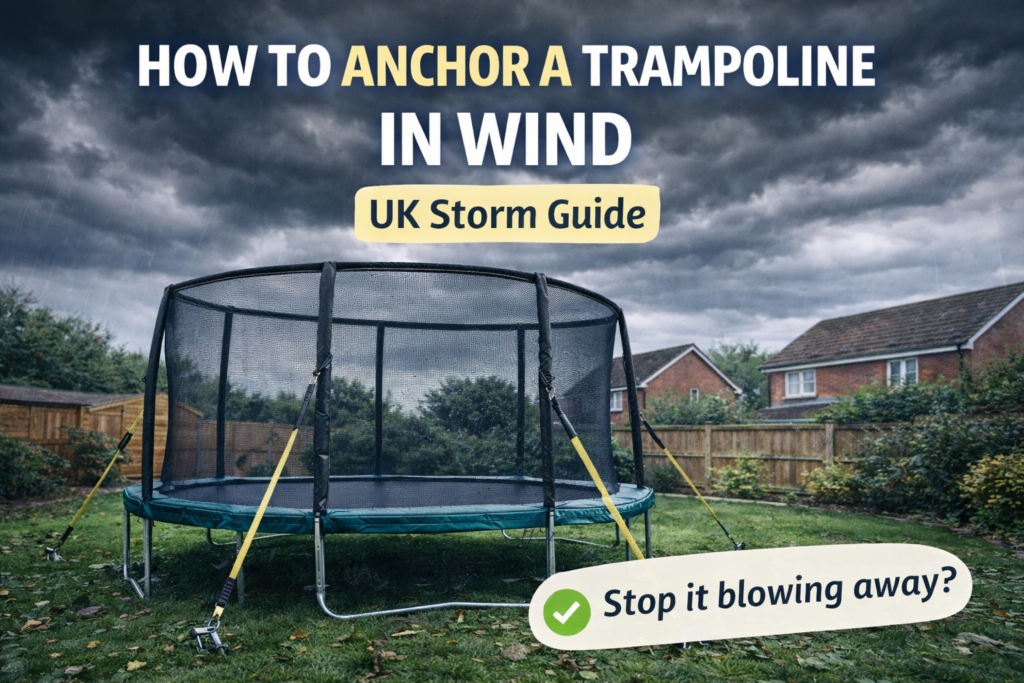
If you’ve ever looked out the window on a windy UK night and thought, “That trampoline is definitely going to end up in the neighbour’s garden,” you’re not alone. Trampolines act like giant sails: the net, mat, and frame catch gusts, and once they start to lift or shift, they can damage fences, smash garden furniture, or bend the frame.
The good news: you don’t need to panic-buy a new trampoline every spring. With the right anchoring setup — and a few realistic “storm mode” habits — you can massively reduce the chance of movement, tipping, or lift.
This guide covers proper anchoring (the best long-term fix), plus practical storm prep (dropping the net, flipping parts, relocating, and yes — emergency weighting options) for real UK gardens.
If you’re building a garden your family can use all year round, it’s worth exploring our wider Garden & Outdoor Play guides too, which cover everything from choosing durable equipment to making outdoor spaces practical for real UK weather
👉 In This Guide
👨👧 Author Insight
We actually lost a trampoline years ago when a sudden storm mangled the frame beyond repair — poles bent, joints twisted, the whole thing basically written off overnight. It was a painful lesson in how powerful wind can be against something so large and lightweight. Since then, we’ve taken anchoring seriously, and the replacement trampoline even survived a red weather warning a couple of years back without moving an inch. Once you see the difference proper preparation makes, it’s hard to go back to just hoping for the best.
Why Trampolines Lift So Easily in Wind
Most garden trampolines are light for their size. When wind hits:
- The enclosure net behaves like a sail
- The jump mat can billow and trap air
- Gusts can get under the frame, especially on uneven grass
- If the trampoline shifts, it can “walk” across the lawn and tip
It’s not just extreme storms either — repeated gusty days can slowly loosen pegs, pull straps, and fatigue joints.
Before you anchor anything, it helps to know the two main failure modes:
- Sliding/Walking: frame shuffles across the ground
- Lift/Tipping: legs lift and the trampoline flips or rolls
A good setup prevents both.
Quick Safety Note (Worth Reading)
- If there’s a severe storm warning and your trampoline is in a very exposed spot, no anchor is 100% guaranteed.
- The safest approach is a layered strategy: proper anchors + reduced wind load + emergency measures if needed.
If you also want the bigger safety picture around trampolines < check out our guide on are trampolines safe ? (everyday use, nets, multi-kid bouncing)
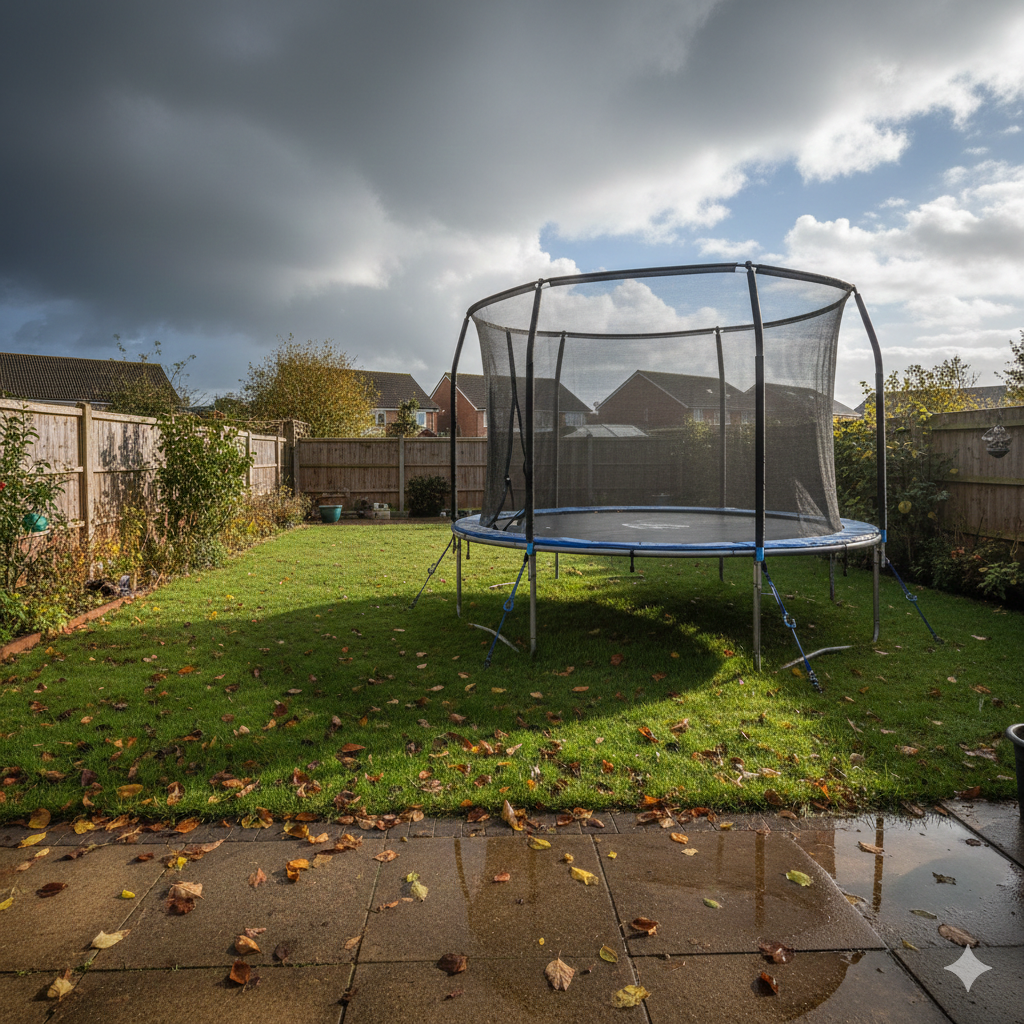
Step 1: Choose the Best Place in Your Garden
Anchoring helps, but positioning often makes the biggest difference.
Pick the least windy location you realistically have
Look for areas that are naturally sheltered by:
- A solid fence (not flimsy panels)
- A hedge
- A wall or outbuilding (with safe clearance)
- A slight dip in the garden (not a waterlogged one)
Avoid:
- Hilltops / raised patios
- Open corners where wind funnels
- Gaps between buildings where gusts accelerate
Leave safe clearance
Even when anchored, you don’t want a trampoline close enough to hit:
- Fences
- Sheds
- Garden furniture
- Walls
- Trees (branches can snag the net)
If you’re planning the overall layout, zoning your garden so large equipment sits in the most sheltered “play zone” helps long-term.
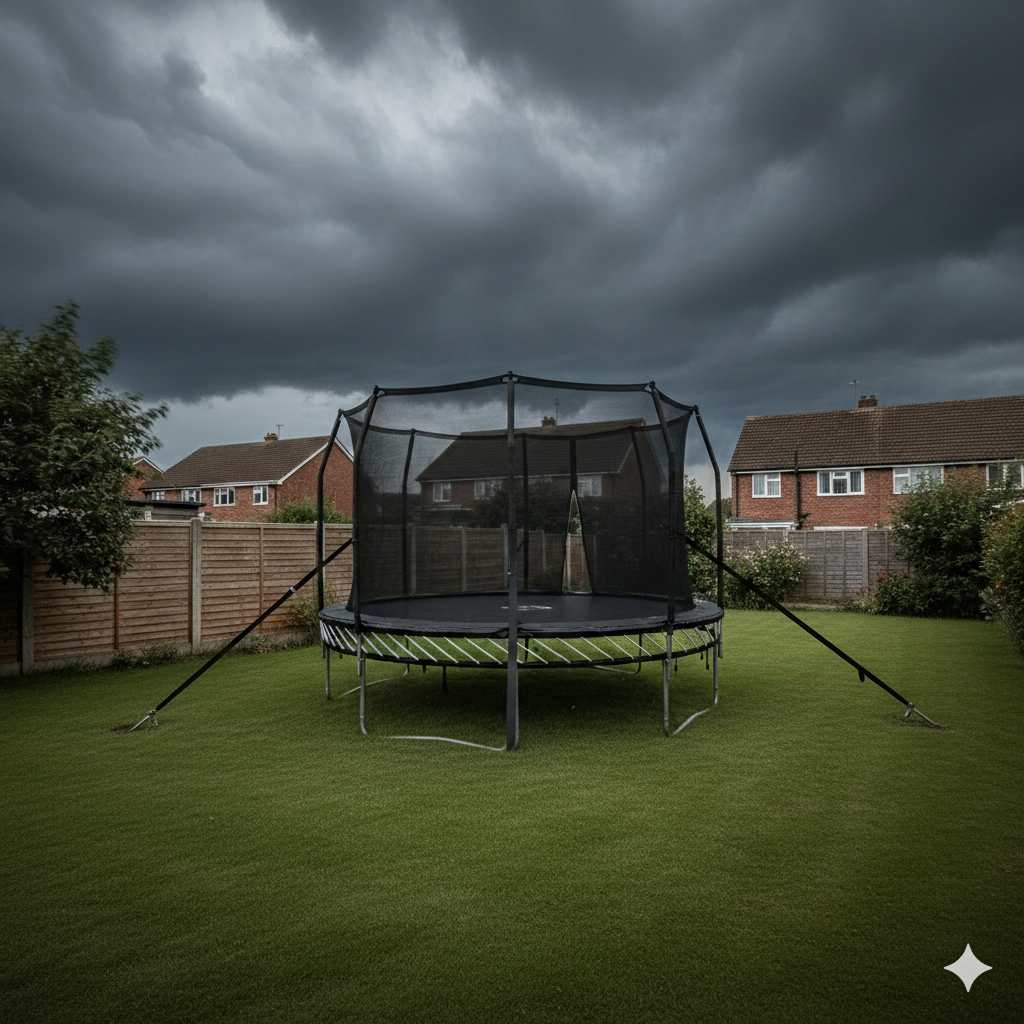
Step 2: The Best Long-Term Solution — Proper Anchoring Kits
If you do one thing, do this.
Option A: Screw-in ground anchors (best for most UK gardens)
Use trampoline anchor kit style screw augers that twist deep into soil, with straps connecting to the frame.
Why they work
- Deep bite into the ground
- Good against both sliding and lift
- Easy to install with a bar or wrench
Where they work best
- Grass lawns with soil beneath
- Most typical UK back gardens
Limitations
- Hard clay can be tough to screw into
- Very sandy soil may need longer anchors or more points
Option B: Spiral pegs + straps (OK, but not as strong)
These are the cheaper kits with shorter spirals. They help with “walking,” but can pull out in stronger gusts.
Best for:
- Light wind areas
- Smaller trampolines
- Extra reinforcement (not your only solution)
Option C: Stake-and-strap systems (only if installed properly)
Metal stakes hammered in at angles can work well, but they’re more dependent on soil type and depth.
If you use stakes:
- Angle them away from the trampoline (resists pull-out)
- Use heavy straps, not thin rope
- Check them regularly
Step 3: How Many Anchors Do You Need?
This is where people under-anchor.
Minimum
- 3 anchor points (triangle pattern)
Better
- 4 anchor points (one per “side”)
Best (for exposed areas)
- 4 anchors + additional straps across the frame
Rule of thumb: anchor at least half the legs if possible, especially on larger trampolines.
Step 4: Where to Attach Straps (So You Don’t Bend the Frame)
Attach straps to strong structural points, not thin parts.
Good strap locations:
- Around the top rail
- At leg-to-frame joints
- Around base rails where legs connect
Avoid:
- Net pole sections (can bend)
- Thin bolt-on brackets (can deform)
- Anything that pinches the net or padding
Use protective sleeves or cloth around straps if they rub paint or padding.
Step 5: Tightening and Tension — The “Not Too Tight” Rule
Straps should be snug and stable, but don’t crank so hard that you deform the frame.
You want:
- No obvious slack
- No rocking when you shake the frame
- Straps evenly tensioned
After the first windy day, re-check. New straps can stretch slightly.
Storm Mode: Reduce Wind Load (This Matters a Lot)
Anchors resist wind forces. But your job is to reduce the wind forces in the first place.
1) Take down the enclosure net (best storm prep if possible)
If your net is removable:
- Unclip and store it indoors or in a shed
- If it’s a one-piece enclosure, collapse it (see below)
The net is often the biggest “sail.”
2) Lower or remove net poles if designed to come off
Some models let you remove upper poles quickly. If yours does:
- Remove poles and store flat
- Keep bolts and clips in a labelled bag
This significantly reduces sail area.
3) Use a weather cover carefully (it can help or hurt)
A weatherproof trampoline cover can:
- Reduce water pooling
- Protect mat and springs
But in high winds, a loose cover can catch air like a parachute.
If you use a cover in wind:
- Ensure it’s tight
- Use additional securing straps
- Remove it for severe winds if it flaps
4) Flip the mat “air scoop” effect (only on some trampolines)
On certain designs, the mat can balloon upward. Removing the net reduces this. If not possible, focus on straps and anchoring.
Emergency Measures (When You Didn’t Prep in Time)
Sometimes storms arrive fast. Here are realistic last-resort options — with honest pros/cons.
Option 1: Add weight inside the frame (carefully)
Adding weight can reduce lift, but do it in a way that won’t damage the mat or springs.
Safer weighting ideas:
- Place sandbags on the frame rails (not on the jumping surface)
- Use water-filled weights positioned around the base
- Put heavy items near legs (spreads load)
Avoid:
- Heavy items on the mat (can stretch or tear)
- Sharp-edged objects
- Anything that can bounce or slide in wind
Option 2: “Piling bikes on top” — does it work?
It can help in a pinch, but it’s not ideal.
If you do it:
- Put bikes under the frame or against the legs, not on the mat
- Lay them gently and avoid bending spokes/derailleurs
- Use it only as short-term emergency weight
Better alternatives are sandbags or purpose weights.
Option 3: Move the trampoline to a sheltered spot
If your trampoline is light enough (smaller sizes), you can move it temporarily:
- Into a corner behind a solid fence
- Next to a shed wall (with clearance)
- Into the lee side of a hedge
Never wedge it so tight that it can’t move at all — in extreme gusts, trapped movement can cause frame bending. You want sheltered, not jammed.
Option 4: Part-disassemble (often the best emergency move)
If you can’t anchor properly in time, reducing sail area is king.
Fastest helpful disassembly:
- Remove enclosure net
- Remove poles (if possible)
- Remove ladder (so it doesn’t rattle/damage)
If the storm is serious, consider fully disassembling the upper enclosure sections.
Option 5: Flipping the trampoline upside down
This is commonly suggested, sometimes helpful, sometimes not.
Pros
- Can reduce “sail” effect if net is off
- Frame sits differently and may be less lift-prone
Cons
- A flipped trampoline can still catch gusts
- Legs sticking up can catch wind
- Can scratch/damage poles and net fixings
If you flip it:
- Remove net first
- Secure it with straps/anchors anyway
- Don’t rely on flipping alone
What If Your Garden Is Very Exposed?
If you’re in a high wind area (coastal, hillside, open fields nearby), do a “belt and braces” approach:
- 4 heavy-duty screw anchors
- Ratchet straps to the strongest frame points
- Remove enclosure net for storms
- Consider a windbreak hedge/fence reinforcement long term
- Store net/poles during winter months
This is also where choosing a trampoline with a sturdier frame matters.
How to Check If Your Anchoring Is Actually Working
Do these quick tests:
The shake test
Grab the top rail and shake firmly.
- If it rocks heavily or legs lift: add anchors or reposition straps.
After-wind inspection
After a windy day:
- Check anchors haven’t loosened
- Check straps for rubbing/cuts
- Check frame joints for movement
Wet ground reality check
UK lawns get soft. Anchors that held fine in summer can loosen in winter if the soil turns mushy.
- Consider adding extra anchor points for winter
- Retighten straps periodically
Common Mistakes That Make Anchoring Fail
- Using 2 anchors only on a large trampoline
- Anchoring to weak parts (net poles)
- Using cheap rope instead of straps
- Leaving the enclosure net up in severe storms
- Relying on a flappy cover
- Anchors installed in very shallow soil
- Forgetting to re-tighten after soil settles
Winter Strategy: The “Set and Forget” Approach That Works
If you want the lowest maintenance approach through UK winter:
- Install a proper trampoline anchor kit (4 points)
- Remove the net + poles for the season (store dry)
- Cover the mat only if it’s tightly secured
- Do a quick monthly check for rust, slack, wear
This avoids the most common winter damage: net tearing, pole bending, frame rust at joints.
Quick Troubleshooting
“My anchors keep pulling out”
- Soil may be too soft/sandy
- Use longer screw anchors
- Add additional anchor points
- Move trampoline to firmer ground if possible
“My trampoline still ‘walks’ in wind”
- Add anchors on opposite legs
- Tighten straps evenly
- Check the ground is level (uneven legs can shift)
“The net is what’s catching the wind”
- Remove it during storms
- Consider storing it in winter
- Ensure net is properly tensioned (loose net = more sail)
Final Checklist: Storm-Proof Your Trampoline
If you want the simplest “do this and relax” plan:
- ✅ Place trampoline in the most sheltered garden spot you can
- ✅ Install heavy-duty ground anchors on at least 4 points
- ✅ Use ratchet tie-down straps to strong frame points
- ✅ Remove the enclosure net for storms / winter if possible
- ✅ Skip flappy covers in high winds (or secure tightly)
- ✅ Re-check tension after the first windy week
- ✅ In emergencies: reduce sail area first, then add safe weight
🌿 Related Guides
If you’re building a garden that’s fun and sensible for UK family life, these guides pair nicely with trampoline storm-proofing:
About The Author – Andrew Marshall
Andrew Marshall is the creator of Simple Days Outside and a UK parent of three who regularly camps, walks, and explores outdoor activities with his family. His guides focus on practical gear, realistic family adventures, and simple ways to help families enjoy the outdoors across the UK. The recommendations on this site are based on real-world use, research, and the kind of equipment families actually rely on for weekend trips and everyday outdoor fun.