

Written by Andrew Marshall
UK parent of three sharing practical advice to help families enjoy camping, walking, garden play, and simple outdoor adventures across the UK.
Creator of Simple Days Outside.
Last Updated: 3rd April 2026
Most people pick up a pair of hiking poles, extend them to roughly the right height, and start walking. That works well enough on flat ground. Then they hit their first proper hill — either going up or coming down — and suddenly the poles feel awkward, seem to be in the way, or aren’t doing what they expected. If that sounds familiar, the issue almost certainly isn’t the poles. It’s technique.
Hiking poles have a learning curve of about twenty minutes. Get through that and they become one of the most genuinely useful pieces of kit you can carry on a family walk. This covers everything from basic grip and height to the specific adjustments that make hills — both up and down — considerably easier on young legs and adult knees alike.
More family walk gear and planning tips are in our Family Walking & Easy Hiking Hub.
Start Here: Getting the Height Right
The single most common mistake with new poles is using them at the wrong height for the entire walk without realising it. Everything else in this article depends on getting this right first.
Stand upright on flat ground holding the pole with the tip touching the floor directly beside your foot. Your elbow should form approximately a 90-degree angle — forearm parallel to the ground, upper arm relaxed at your side. If you’re reaching down to hold the grip, the pole is too short. If your elbow is raised above 90 degrees, the pole is too long.
This is the starting height for flat ground. You’ll adjust from here for uphill and downhill — which we’ll cover shortly — but get this baseline right before anything else.
For children, the same rule applies. The 90-degree elbow check works at any age and any height. It takes about thirty seconds to set correctly and makes an immediate difference. We always do this at the car before the walk starts rather than trying to adjust on the move with cold hands on a windy hillside.
One practical note: flip lock mechanisms — the lever that clamps the pole sections together — hold adjustment more reliably than twist locks, particularly for children who may lean heavily on the poles. Check the lock is fully clamped before anyone heads off. If you’re still deciding which poles to buy before getting to the technique, lightweight kids hiking poles worth trying covers the confirmed UK options with flip locks specifically noted.
The Basic Grip — Most People Do This Wrong
The correct way to hold a hiking pole is not how most people naturally pick one up.
Don’t grip the handle like a hammer with your fist closed tightly around it. That causes hand and wrist fatigue surprisingly quickly and removes the ability to plant the pole with any precision.
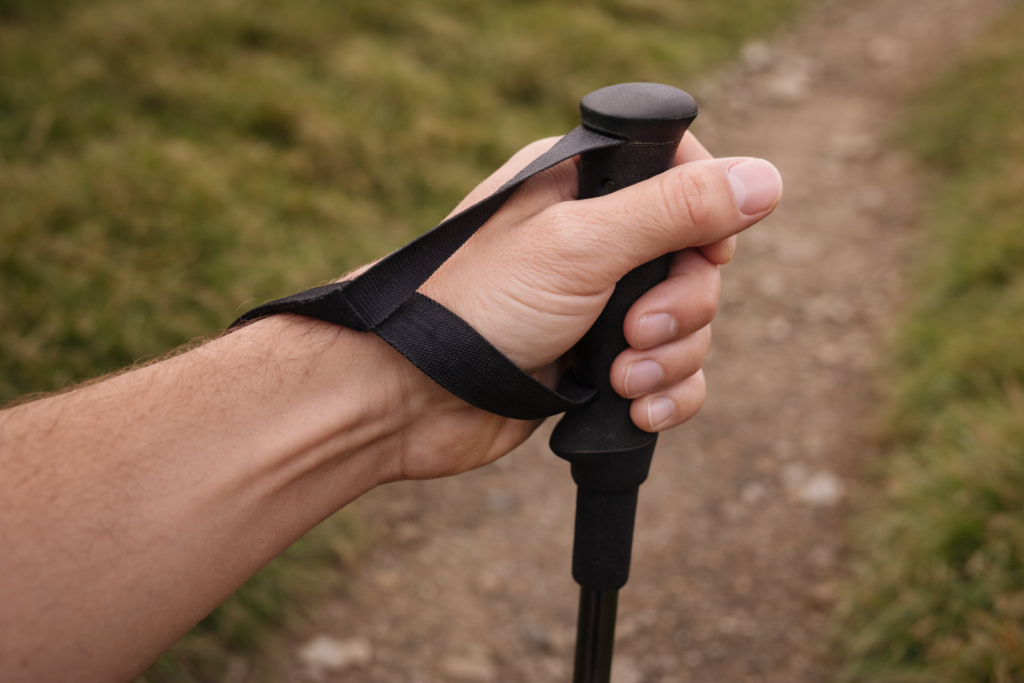
The correct grip uses the wrist strap as the primary connection between hand and pole. Thread your hand up through the strap from below — not down through the top — so the strap loops across the back of your hand between thumb and forefinger. Now hold the grip lightly, with the strap doing most of the work of keeping the pole connected to your arm.
This matters because it means you can open your hand completely and the pole stays with you. On steep ground, this allows you to push down through the strap rather than gripping tightly — which transfers force more efficiently and reduces fatigue over a long walk.
Our eldest refused to use the wrist strap for the first two walks and complained their hand hurt by the halfway point both times. Adjusted the strap correctly on the third walk and had no complaints for the rest of the season. The strap is not optional.
For children with smaller wrists, make sure the strap is adjusted small enough to sit snugly — an adult-sized strap on a child’s wrist hangs loose and defeats the purpose entirely.
The Planting Rhythm on Flat Ground
Before getting to hills, spend a few minutes on flat ground establishing the basic rhythm. This is worth doing deliberately rather than rushing straight to the challenging terrain.
The natural and efficient rhythm is to plant the pole on the opposite side to the foot you’re stepping with. Right foot forward, left pole plants. Left foot forward, right pole plants. This mirrors the natural swing of your arms when walking and feels instinctive once you’re moving — most people find the rhythm within five minutes without any instruction.
The pole should plant slightly ahead of and to the side of your body — roughly level with your front foot or just behind it, not far in front. Planting too far ahead pulls you forward awkwardly and puts strain on the wrist. The plant should be a light, controlled touch rather than a stab at the ground.
The tip angles back slightly as you step through — pointing forward when it makes contact and rearward as your weight passes over it. This is the propulsion phase and it’s where poles genuinely assist forward movement rather than just providing balance.
Going Uphill — Shorten the Poles First
This is the adjustment most beginner pole users never make and it makes a noticeable difference on any meaningful gradient.
When climbing a hill, shorten each pole by around 5–10cm compared to your flat-ground setting. The hill itself effectively raises the ground level on the pole side, which means your standard height suddenly has you reaching up rather than pushing straight down. Shorter poles on ascent keep the elbow angle correct and allow you to drive the pole into the ground more efficiently.
The technique on uphill sections changes slightly too. Rather than the opposite-side rhythm of flat walking, many people find it more natural to plant both poles simultaneously or use them in a symmetrical push — one on each side, both planting as you step forward. Both work. The key on ascent is that the pole tip should plant behind you rather than ahead — you’re pushing off backward to drive yourself up rather than reaching forward to pull yourself along.
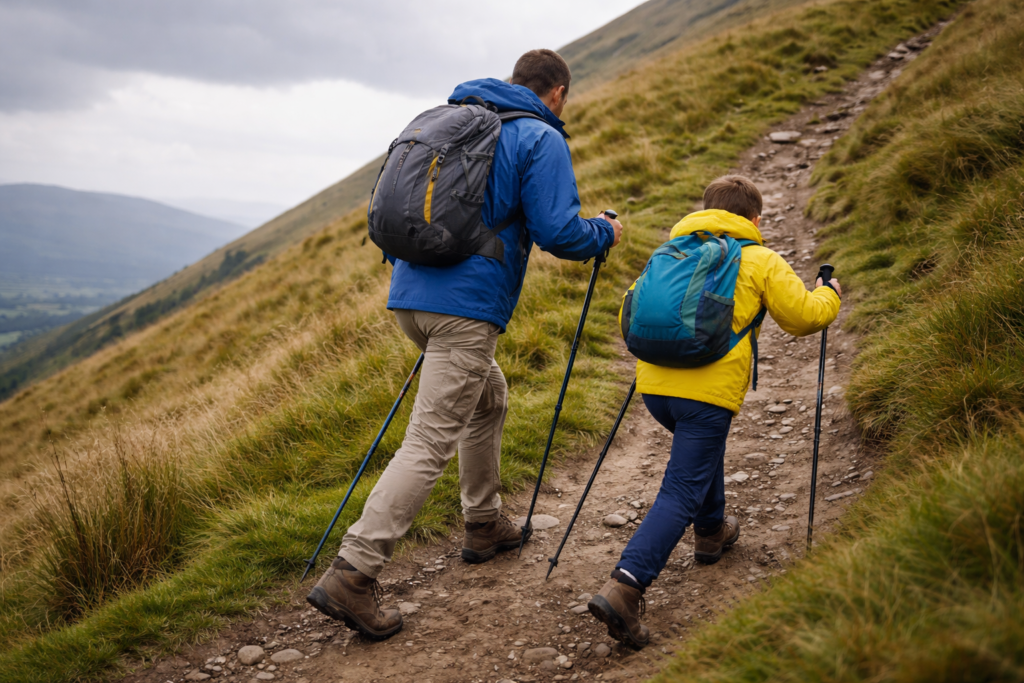
On steeper sections, the poles become genuinely valuable for taking load off the quads. Plant the poles firmly, push down and back through them as you step up, and you’ll feel the difference in your legs on a long climb. On shorter easier hills it’s minimal. On anything over 100–150 metres of sustained ascent it becomes very noticeable.
The first time we properly used poles going up Conic Hill above Loch Lomond, the difference in how the kids felt at the top compared to previous visits without poles was remarkable. Same hill, same pace — but the leg fatigue was meaningfully less because some of the work had moved to the arms and shoulders.
Going Downhill — Where Poles Earn Their Place
Downhill is where most people discover poles are either brilliant or completely useless — and the difference is almost always technique rather than the poles themselves.
Lengthen each pole by 5–10cm compared to your flat-ground setting before starting a descent. Going downhill, the ground level on the pole side is effectively lower, which means your standard height has the tip reaching the ground too late. Longer poles on descent mean you can plant them comfortably ahead of you without bending awkwardly to reach.
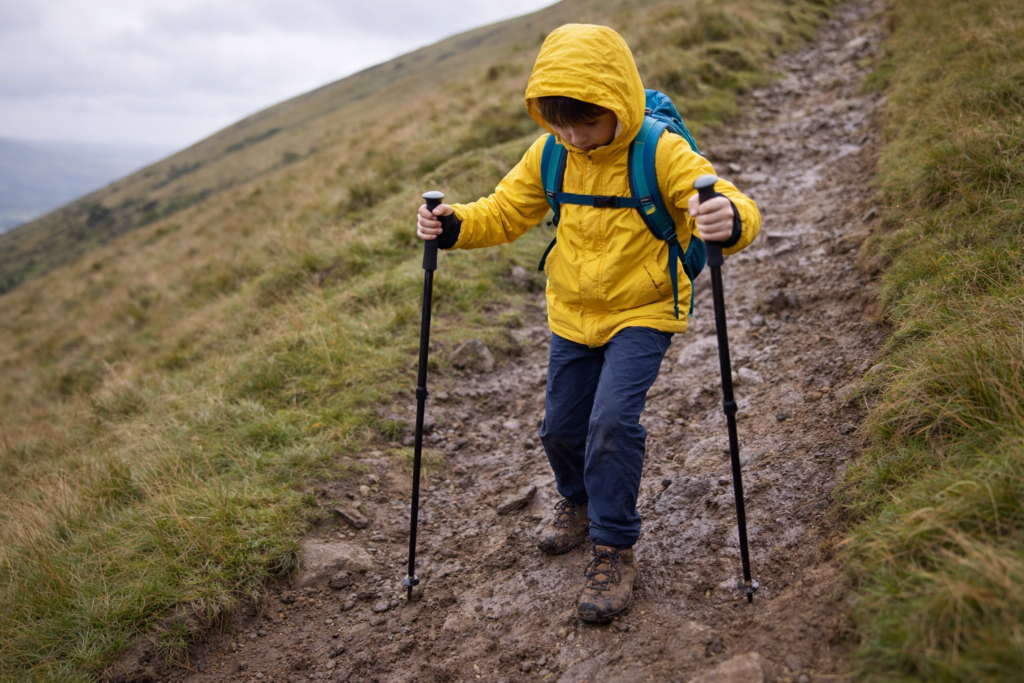
The technique on downhill is fundamentally different from uphill. Plant the poles in front of you — ahead of your body — and use them as a brake rather than a propulsion aid. Each pole plants as the opposite foot lands, absorbing some of the impact and reducing the force through the knee. Research consistently shows poles reduce knee joint loading by around 12–16% on downhill sections, which over a long descent adds up to significantly less fatigue and discomfort. The sole grip on your child’s footwear matters just as much as technique on wet descents — walking boots versus trail shoes for UK family walks covers which works better on different surfaces.
Lean very slightly forward — not backward. The natural instinct on steep ground is to lean back, away from the slope, but this reduces control and makes slipping more likely. A slight forward lean with poles planted ahead gives much better braking and far better grip through the boot sole.
Take shorter steps on descent than you would naturally. Long strides downhill increase impact force and reduce the ability to adjust to unexpected changes in the path. Short, controlled steps with poles planted ahead is the combination that makes genuinely steep or slippy ground manageable rather than anxiety-inducing.
We walk a lot of paths that have been churned to mud after rain — the kind of descent where every step needs checking. Poles in this situation are the difference between a controlled careful descent and a very muddy fall.
Crossing Streams and Boggy Ground
Two specific situations that catch beginners out and where poles provide a different kind of value than on hills.
Stream crossings: Plant both poles simultaneously on the downstream side before stepping across. Test the depth of the far bank with a pole tip before committing your weight to the step. Cross one foot at a time, moving the poles and feet independently rather than moving everything at once. The poles provide stability on wet rock or slippy stone where a single misstep matters considerably more than on a dry path.
Boggy sections: Use the pole tip to test the ground before each step in genuinely uncertain terrain. What looks like firm ground on a peat moorland path can be unexpectedly soft underneath. A quick prod with the pole tip tells you whether the next step is solid or whether you need to find a different line across. Mud baskets on the pole tip are worth attaching in these conditions — they prevent the pole sinking to knee depth in particularly soft ground and getting stuck. If you’re heading out on a route with this kind of terrain for the first time, what to pack for a 2–3 hour UK trail covers the full kit list worth having alongside the poles.
This is the technique that makes the biggest practical difference on any UK walk involving moorland, peat, or paths that drain poorly after rain — which covers a significant proportion of genuinely interesting family routes.
When to Put the Poles Away
Poles aren’t right for every section of a walk and knowing when to stow them is part of using them well.
Scrambling sections where hands are needed for balance on rock — poles tucked away or in a pack. Trying to hold poles while scrambling creates a hazard rather than removing one.
Very narrow paths where swinging poles catch other walkers or vegetation — carry them vertically or alongside the body rather than planting them normally.
Stiles, gates, and ladder styles — hold both poles in one hand or lean them against the stile while you cross. The moment that cemented this rule for us was watching our middle one attempt a ladder stile over a drystone wall with both poles still extended. What followed was approximately forty-five seconds of genuine chaos. Poles away before stiles is now a standing rule.
Flat, easy sections mid-walk where the ground is straightforward and dry — some walkers stow poles for these sections to give the arms a rest. Personal preference. There’s no wrong answer.
Most collapsible poles collapse to around 50–65cm and fit down the side of a daypack or across the back attachment. Worth practising this at home before the walk so the adjustment takes ten seconds rather than five minutes in the rain.
Teaching Children to Use Poles
Children pick this up faster than most parents expect — the main thing is not to overthink the instruction.
Start on flat ground, five minutes before any terrain. Show the wrist strap threading — up through the bottom. Set the height so the elbow is at 90 degrees. Walk alongside them for a few minutes and demonstrate the opposite-side rhythm rather than explaining it verbally. Most children mirror the movement naturally within a few minutes without any instruction. If you’re still unsure whether poles are the right call for your child’s age and the walks you’re planning, whether hiking poles are worth it for family walks covers the honest case for and against.
The two things worth being specific about: plant the tip on the ground rather than swinging it in the air, and don’t lean all their weight on the poles on flat ground — the poles support, they don’t carry. Both of these correct themselves quickly once the child is moving with good technique.
For the first hill either up or down, shorten or lengthen the poles slightly and explain why in one sentence. Children who understand what the adjustment does make it themselves on subsequent walks without being asked.
The best thing we ever did was stop explaining and just walk ahead using the poles correctly ourselves. Within two minutes our youngest was doing the same thing without a word being said about it. Children copy far more reliably than they follow instructions, especially on a hillside where they’re already processing a lot.
Before Your First Pole Walk — The Three Things Worth Remembering
Set the height on flat ground with the elbow at 90 degrees, then adjust shorter for uphill and longer for downhill. Thread the wrist strap up through the bottom and let it do the work rather than gripping tightly. And on any descent — lean slightly forward, plant the poles ahead, take shorter steps than feels natural. Everything else comes with practice and most of it clicks within the first twenty minutes on a real path.
Frequently Asked Questions
Do you always need two poles or can you use just one? Two poles for any terrain with gradient or uneven ground — the balanced support is meaningfully better than one. One pole is sometimes used by experienced walkers on easy moderate paths as personal preference. For beginners and children, always start with two.
How do you carry poles when you’re not using them? Most collapsible poles fit down the side of a daypack or can be attached to the back using a compression strap. Collapse them before approaching any narrow or crowded section. Never carry extended poles horizontally through a group — the tips are sharp and the risk of catching someone is real.
Why do my arms get tired when using poles? Usually a sign of gripping too tightly or not using the wrist strap correctly. Relax the grip, let the strap take the load, and the arm fatigue largely disappears. A slight soreness in the shoulders after the first few pole walks is normal — it passes as the muscles adapt within a walk or two.
My child keeps using poles as swords. What do I do? Stop walking, establish one clear rule — tips on the ground at all times — and enforce it consistently from that point. Most children test this once and then accept it. If the misuse continues, stow the poles until a section of the walk where the terrain genuinely needs them. The value of having poles on a difficult section usually provides its own motivation to use them correctly.
Can you use hiking poles on paved paths and roads? Yes — swap the tungsten steel tips for rubber caps first. The steel tips wear down quickly on hard surfaces, make a distracting noise, and create unnecessary sparking on stone. Rubber caps are included with most poles and the swap takes thirty seconds.
Related Guides
About The Author – Andrew Marshall
Andrew Marshall is the creator of Simple Days Outside and a UK parent of three who regularly camps, walks, and explores outdoor activities with his family. His guides focus on practical gear, realistic family adventures, and simple ways to help families enjoy the outdoors across the UK. The recommendations on this site are based on real-world use, research, and the kind of equipment families actually rely on for weekend trips and everyday outdoor fun.